


When someone says they’re a “YouTuber” by trade, it’s not an uncommon response for people to scoff- how is that even a job? Anyone can make videos, right?
Well, the role of “videographer” in reality is a role that comprises several specialist roles (often solo roles in their own right): writer, producer, director, cinematographer, sound designer, editor, and perhaps even illustrator, graphic designer, animator, VFX artist- the list goes on, depending on your skills. I found this out the hard way during my co-op term as a videographer (and digital designer)! So no, not just anyone can make videos professionally.
Assuming you’re not quite fortunate enough to make a living entirely off making your own passion project videos funded by fans, you’ll likely be working with a client who wants a video made for them. Of any step in the process, this is the most crucial. Even if you end up outsourcing some of the other, more technical steps you’re not capable of doing yourself, a videographer’s job above all else should be to understand what exactly the client wants in this video and figure out how to make that a reality.
Organize a time with the client to discuss in depth exactly what they want the video to contain and how it should be presented. Consider and answer the following questions with the client:
Who is the audience of this video?
- Depending on the audience, is there a certain style/diction/tone the video should have? e.g. General public-facing, student-facing, faculty-facing, corporate?
- Accordingly, are there any branding guides to follow?
When is this needed by; is it urgent?
The most important question: What is the key information they want to convey? What is the purpose of the video?
- Discuss with the client roughly how information should be organized.
What footage needs to be recorded?
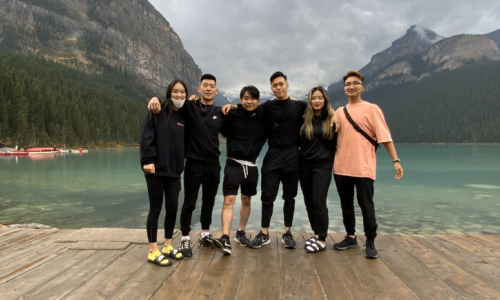
- Who will be in the video? Will there need to be waivers (like SFU's) signed?
- Where will it be recorded?
- Are there safety concerns, required training, etc. for this video to be made?
If you don’t have much knowledge about the subject of the video, research is key to taking the broad topics the client provided and wants to be covered in the video, and turning it into an actionable outline and content. For example, my first video project at SFU FAS was a safety video about working in machine shop labs, which I haven’t done since middle school! It’s good to start working on an outline as you research, and tweak it as needed as you research the content further. It may also be necessary to research specifics by speaking with the client further (or other sources the client provides).
Cycles of reviewing your progress, getting feedback, and implementing said feedback are an essential and often repeated part of the process. Ask the client to review your outline. Does it cover all the content necessary? Is there anything else that needs to be covered but isn’t? Does the content need to be rearranged? Make changes and repeat these two steps as necessary until fully approved. This should be the case for every feedback stage.
Using the approved outline as a base to write the script, use the research to write the dialogue and direction of the video in full sentences with detail. Even without shot-specific information, there should be a sufficient description of what is happening in the scene to be able to imagine the scene. Take into consideration voiceovers (easier to record) versus in-shot dialogue (feels more natural, but difficult to record).
Check with the client, especially regarding tone and conveyance of information. Does it go into enough depth, or too much? Is the language and tone used appropriately?
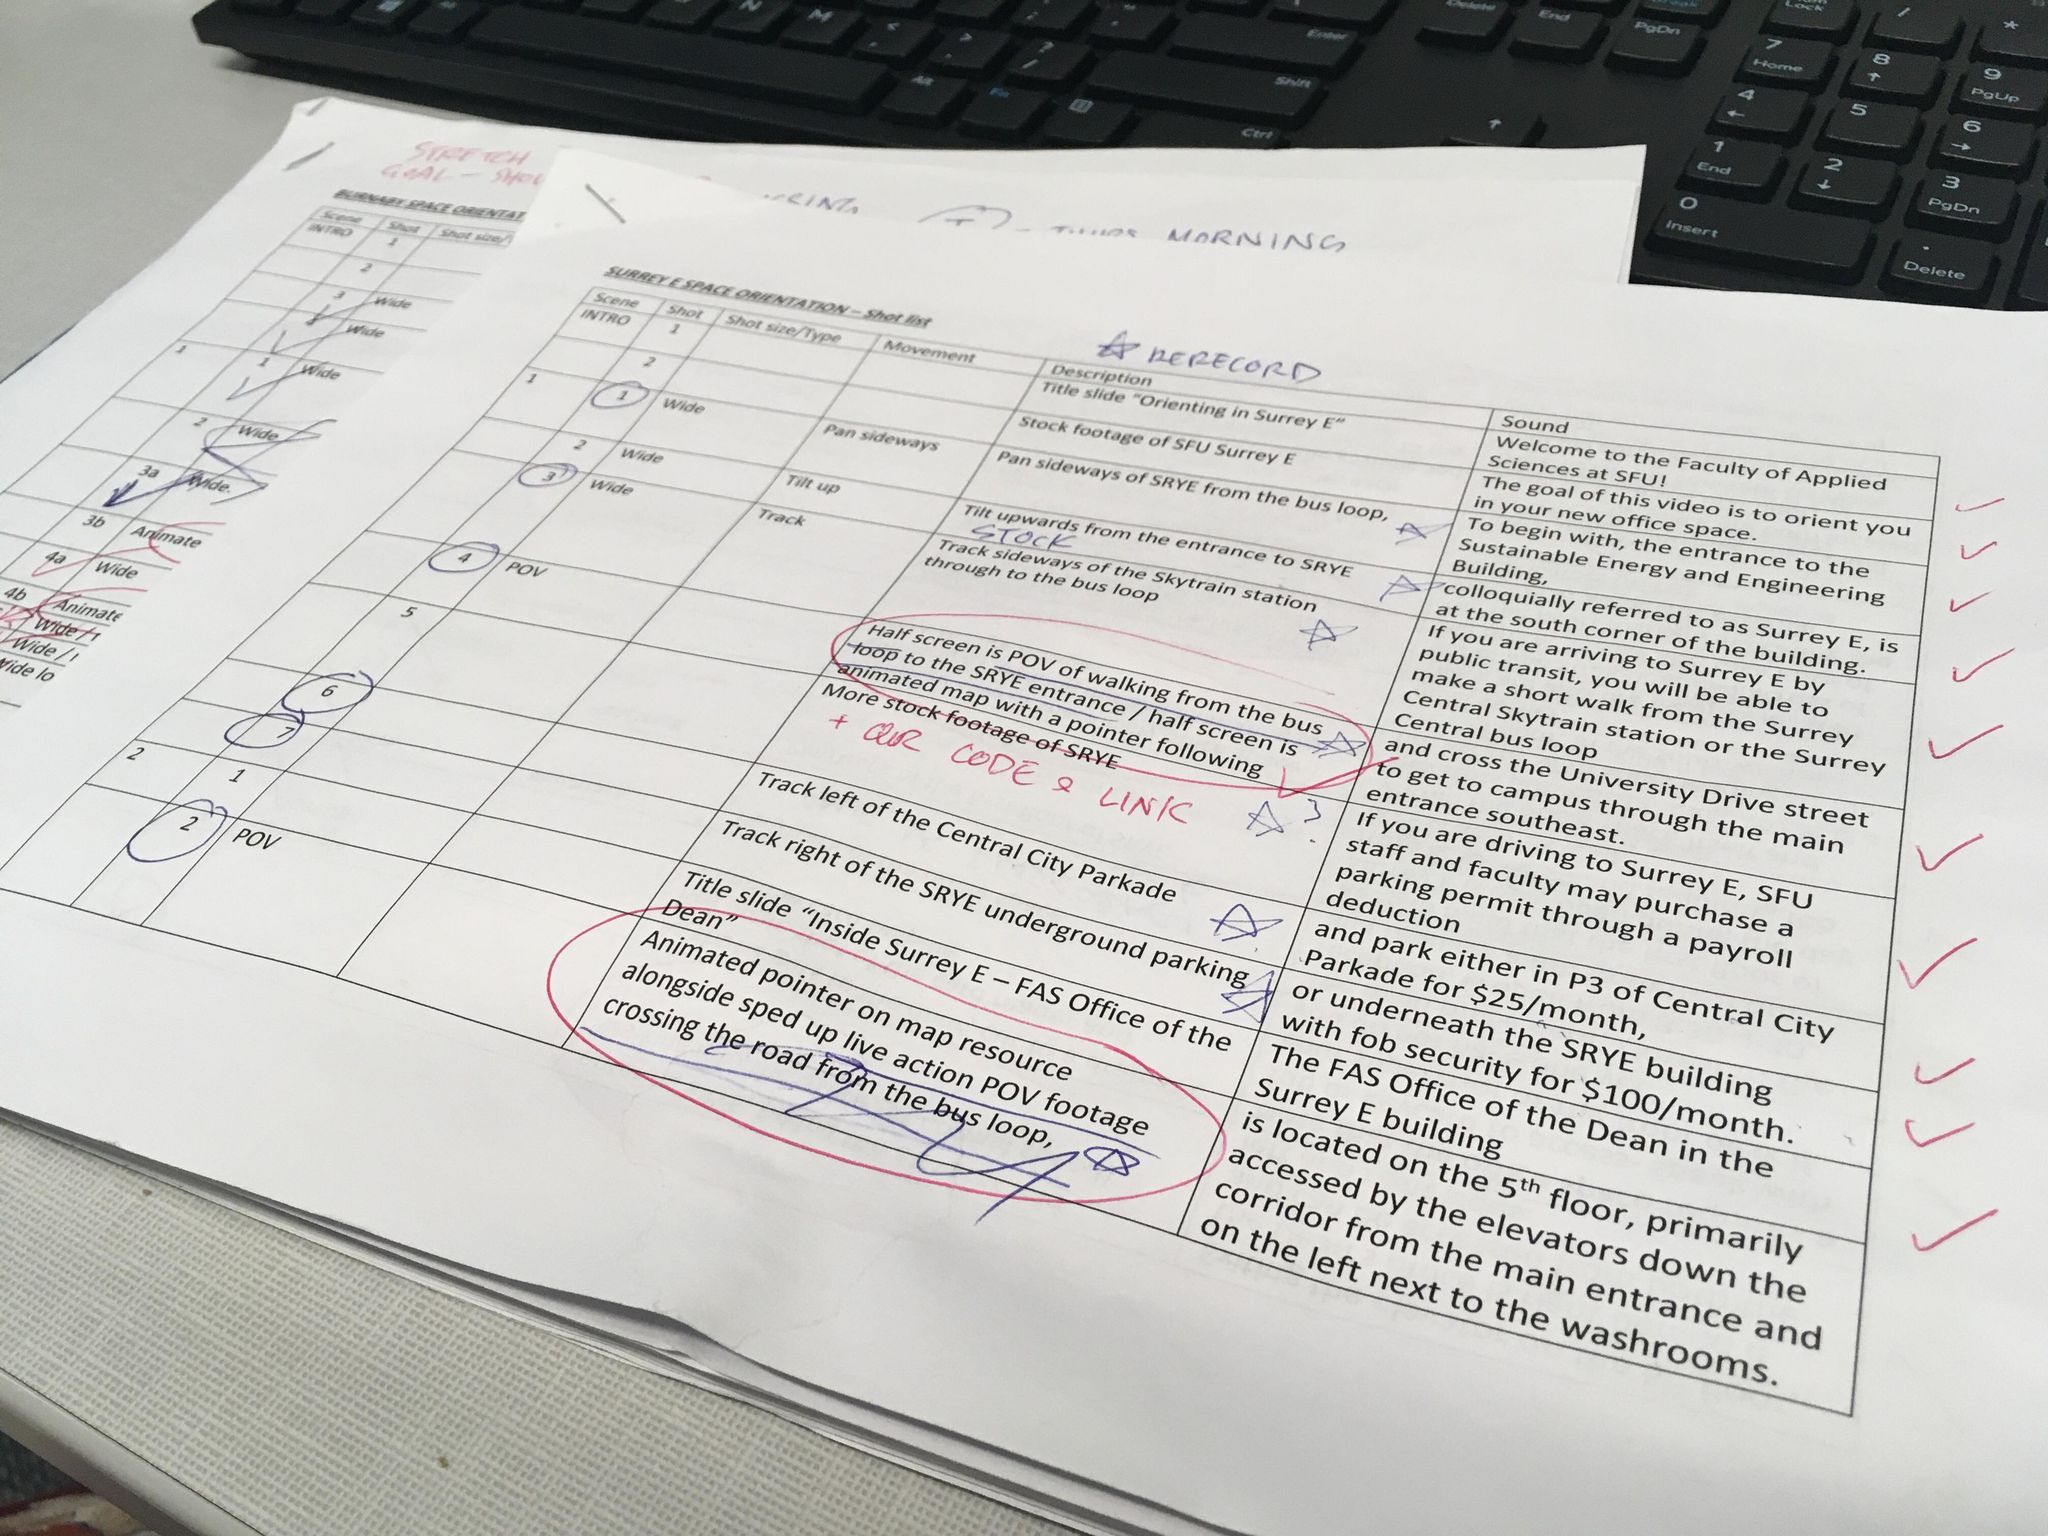
I often do this concurrently while waiting for feedback on the script. A shot list is essential to make the shooting process easier for both you as the director and everyone involved in the video. At the bare minimum, it should have shot number, shot length/size, camera movement, description of shot (who is in it, what are they doing?), and audio (dialogue, sound effects, music, ambiance?). Having all of this listed out makes it easier to direct people who will appear in the video, as well as making it easier for you behind the camera to know what to do during the shot.
If there are particularly complex shots, whether movement or camera movement-wise, a storyboard may be worth doing for you to get a better idea of how it will look shot by shot and what you need to recreate the day of shooting.
It’s likely that the shotlist will be overwhelming for the client to look through if they’re not a videographer themself, so I highly recommend scheduling a time with the client to walk through both the script and shotlist out loud together. Reading the script out loud is especially helpful to give a better idea of how you imagine it will be read in terms of tone and speed. Try and use the shotlist as an aid to help the client imagine how the video will play out, rather than just giving it to them to read.
In preparation for filming, refer to the information gathered in step 1 (the client interview).
● Who will be involved? What dates are they available? Have they signed the waiver to appear in this video?
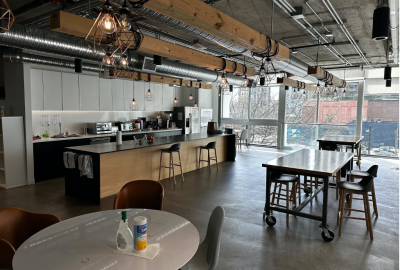
● Where will you be filming? When is it available? Do you need to book the space- does it require special access? Are there safety considerations in the place you are filming? Will there be other people in the background- will that be an issue?
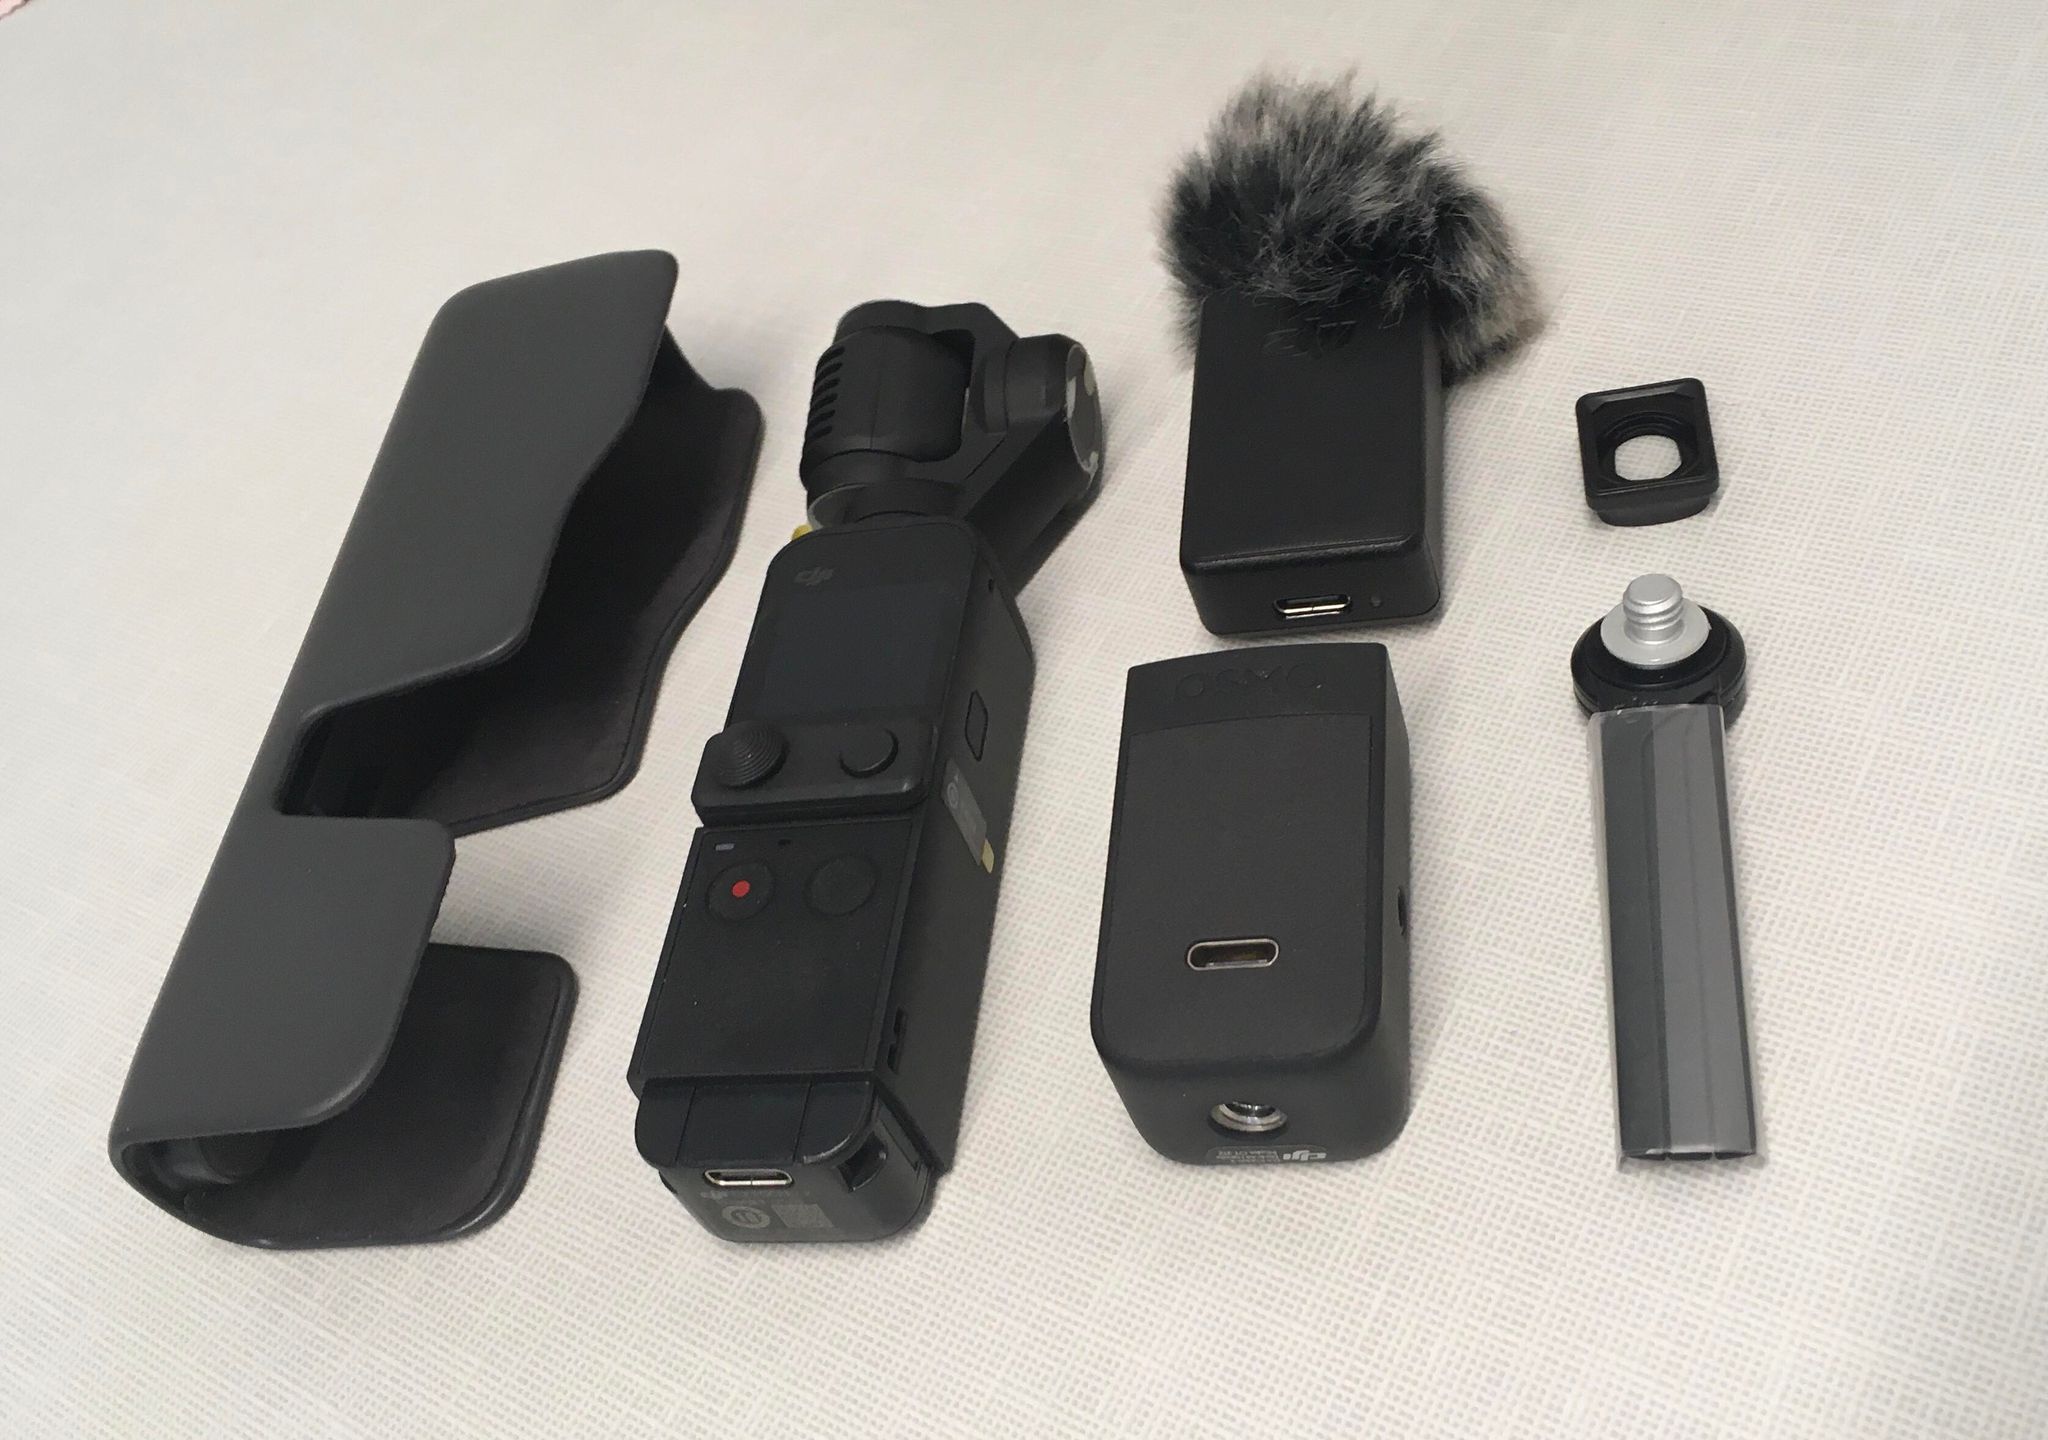
● What equipment is needed? Is audio being recorded on set- and if so, have you accounted for location-specific issues that will affect the quality of sound? Consider the lighting of the time and place you will be recording at: will lighting equipment be necessary?
● Are you familiar with how to use the equipment? Is everyone involved familiar with the script and shot list?
With these questions answered, you should be able to schedule a time to film. Having a printed copy of the script and shot list will make the day of filming go much more easily in terms of directing, and I highly recommend checking off each shot on the list as it’s completed (or making a note if there are any issues).
Make sure to take test footage and review it the day of, before starting actual filming. This is necessary to check whether all equipment is working on the day off and if there aren’t any obstructions from the location that could affect footage quality.
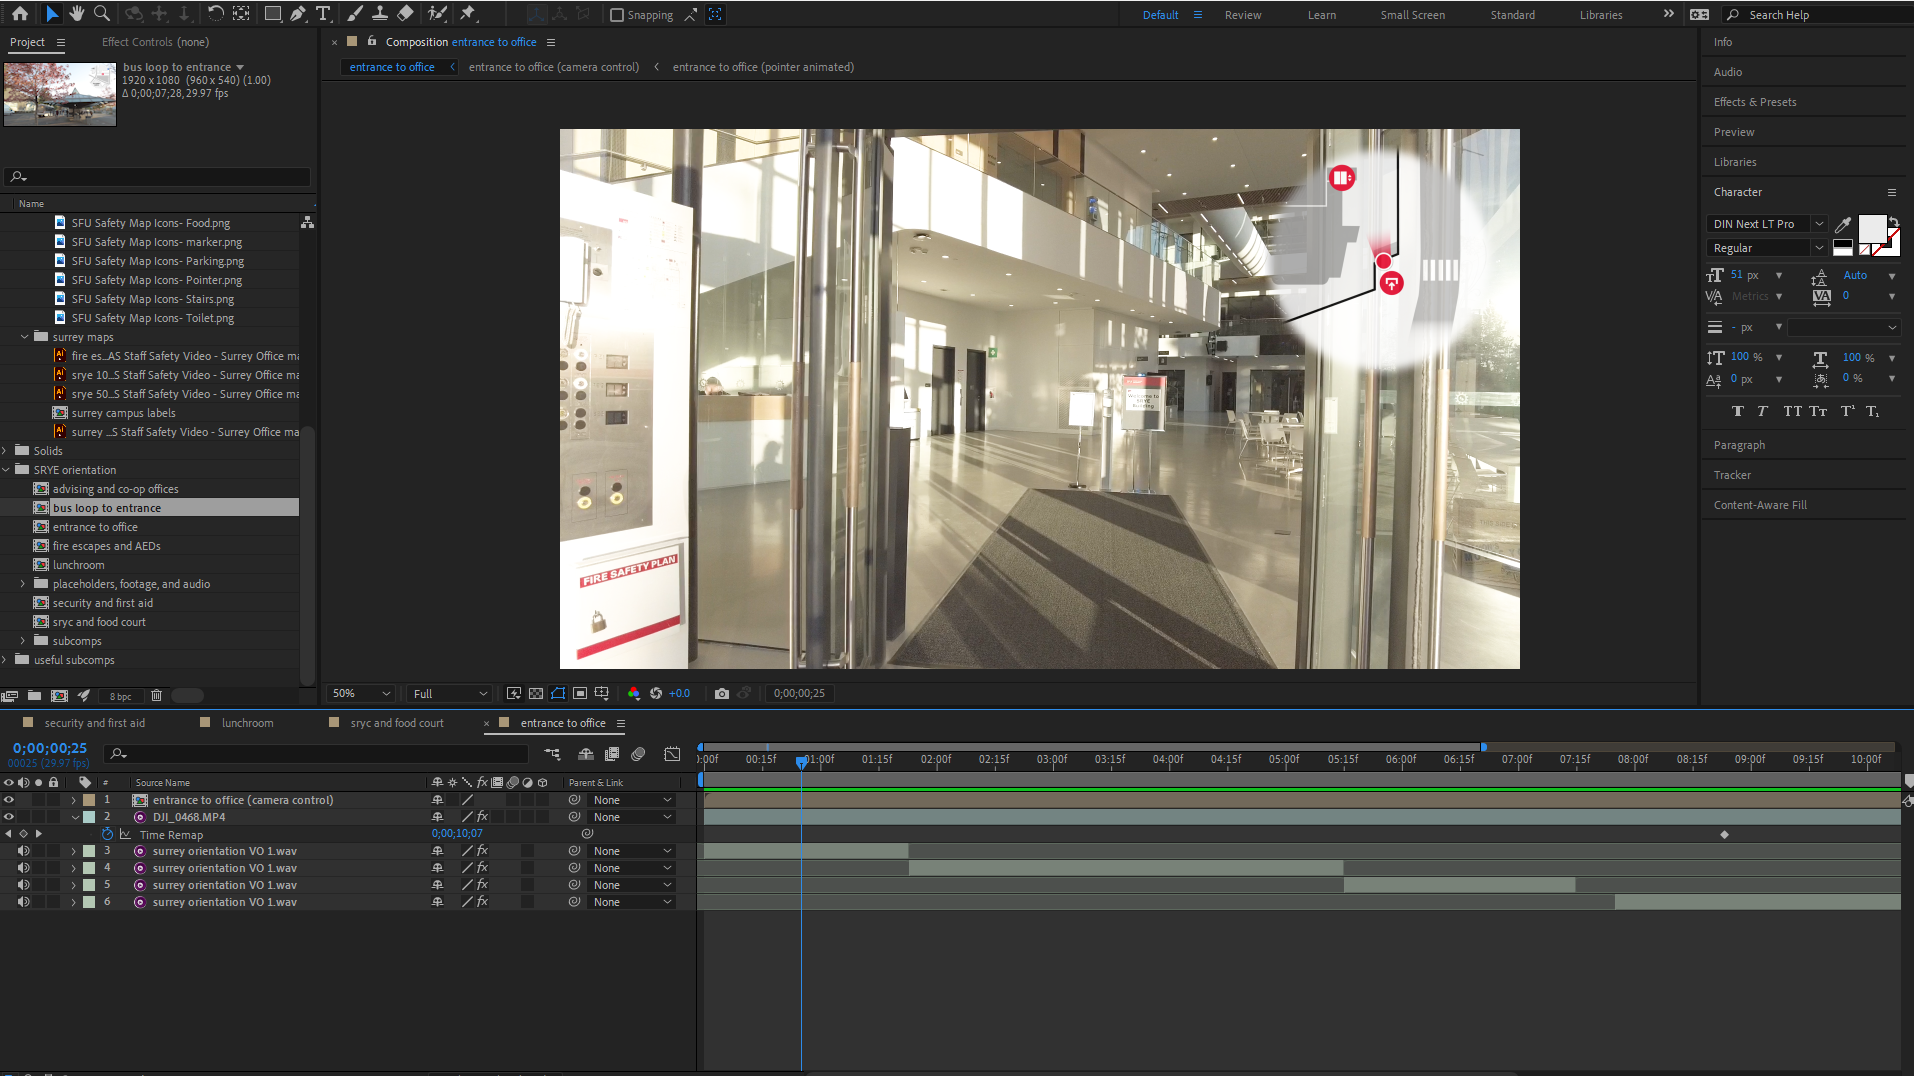
Review your footage carefully as you put together the assembly edit. Make notes of any footage with issues (i.e. requires reshoots, including ADR/audio re-records, individuals that may need to be blurred or edited out if needed), and check them with the client. This is also the point at which you can introduce any extra artistic skills if you have them, such as animation, visual effects, etc. to help bring the video’s production quality to the next level.
Stock footage and stock sounds (both music and effects) that can’t be recorded may be found and inserted in this process. Use the low-quality free download stock versions as a temporary placeholder in your edits until the choice of stock content is approved by your client and supervisor, and buy the full stock content for the final edit. If you’re making videos specifically for SFU as I did in my co-op, the SFU Image Library is an excellent resource for stock photos and footage of the campuses.
Ideally, there shouldn’t be too many major changes, as your edits should be fairly close to what was described in the shot list. But you should always check in with your client at each major step of the editing process, particularly for things like pacing and stylistic choices in your editing (or animation if applicable). It’s helpful to keep your client’s branding guide open, too. In my case, I always had SFU’s Brand Guide open on the colors tab as I worked.
Remember to buy the full-resolution, unwatermarked versions of the stock content and replace them in the edit accordingly. Subtitles are also strongly recommended for any video work- the extra level of accessibility to anyone from the hard of hearing or people with English as a second language can’t be understated. Premiere Pro actually has a closed-captioning tool available that will reasonably accurately and automatically generate a transcript that can be exported to subtitle files (.srt, .txt, etc.). I can’t recommend this tool enough, especially compared to the old-school method of manually noting the timing and transcripts yourself by hand. The timing of the subtitles may need to be changed for readability and wrongly transcribed sections corrected, but it otherwise takes away an immense amount of the work in captioning. You can finally either burn the subtitles into the video or soft-encode the subtitles into the video file such that they can be turned on/off with software like Handbrake.
All that’s left is to render the video. Keep in mind the technical limitations of the machine you’re working on: I learned the hard way that a typical office PC is nowhere near powerful enough to render videos (that are especially laden with animations, which I often do), irreversibly freezing up. Look up the recommended hardware specs for the software you’re using, although typically 16GB RAM minimum and a dedicated graphics processing unit from within the last 5 or so years in the computer should let you render without too many issues. You’ll also most likely have to set aside some dedicated time for the computer to focus on rendering because using other programs while it renders can slow it down more.
More than likely, you’re not going to be the one getting the sweet satisfaction of hitting upload on your finished work and publishing it to the world. Your client will be the one uploading- it’s the video they wanted, after all, you just have to send the final product to them, probably via a filesharing service like OneDrive, Google Drive, or in my case, SFU Vault. It’s important you send it to them this way due to the far less strict limits on upload size compared to email or messaging, and the quality of the video you worked so hard to make will be intact and uncompressed.
And that’s it. You finally did it! You made a video (for a client) all on your own, taking the initiative to do everything from start to finish, all by yourself. You figured out exactly what the client wanted, did your own research and planning, scripted it, planned it out shot by shot, recorded the footage, edited, and exported the video. Pat yourself on the back, because none of it is easy to work, and more than likely you were forced to learn and hone new skills on the way. But that’s the great thing about videography- it’s an incredibly multidisciplined job, and you come out of it with many more useful skills than you went in with. The best part is, with every new video you make, you can only keep getting better.